Yogyakarta photography rewards a different approach from Bali — less about staged sunset compositions and more about being in the right place at the right time with enough context to recognize what you’re looking at. This guide covers the locations worth knowing about, the timing that makes them work, and the cultural etiquette that separates a respectful photographer from an oblivious one.
Yogyakarta photography divides naturally into three categories that require different approaches: the major heritage sites (Borobudur, Prambanan, the Kraton complex) where the challenge is crowd management and light timing; the neighborhood and street photography in areas like Kotagede and the Kraton lanes where the challenge is cultural sensitivity and building rapport; and the landscape and highland photography around Merapi and Gunungkidul where the challenge is logistics and weather. Each category has specific considerations that generic photography advice misses, and this guide addresses them specifically rather than offering the usual list of “best Instagram spots.”
Heritage Sites: Managing Light and Crowds
Borobudur is one of the most photographed sites in Indonesia, which means the visual challenge is finding an angle or a moment that doesn’t look like every other Borobudur photograph. The practical answer involves timing rather than composition tricks — the standard tourist circuit photograph of the upper terrace stupas with Merapi on the horizon requires early morning for manageable light and tolerable crowd density. The sunrise ticket, covered in the Borobudur from Yogyakarta guide, places you on the upper terraces before the main visitor flow and gives the clearest Merapi views. On a clear morning this produces photographs that are genuinely difficult to replicate later in the day. On a cloudy morning — which happens even in dry season — it’s an expensive early start with flat light.
The relief panels on Borobudur’s lower galleries are systematically undershot because most photographers focus on the terrace stupas. The panels photograph best in side-lighting rather than direct frontal light — mid-morning on the east-facing galleries, mid-afternoon on the west-facing galleries — when the shadow depth in the carved relief brings out the narrative detail that flat-light photography loses. Bring a longer focal length (85mm equivalent or longer) to isolate panel sections rather than trying to capture full gallery widths.
Prambanan shares the light-timing logic with Borobudur — the three main spires are most effectively photographed in the hour after sunrise (eastern light on the carved surfaces) or in the final hour before sunset (warm raking light that catches the stonework depth). Midday Prambanan is flat-lit and crowded. The surrounding compound of smaller ruined temples, particularly in the outer zones that most visitors bypass, offers less photographically obvious but more compositionally interesting material — collapsed stone with the main spires visible in the background, vegetation growing through the ruins, the sense of incompleteness that the main temples don’t convey.
Ratu Boko, covered in the Ratu Boko guide, is the most photogenic late-afternoon heritage site in the Yogyakarta region — the main split gate silhouetted against sunset light with the Prambanan plain stretching toward the horizon is a genuinely distinctive image that doesn’t require fighting for position.
Taman Sari is at its most photogenic in the first hour after opening — the main pool in soft early morning light before tour groups arrive produces the stillness that the midday version doesn’t have. The underground tunnel sections require artificial light or slow shutter speeds; bringing a small torch or relying on the natural light coming through the tunnel openings produces better results than phone flash photography, which flattens the stone textures.
The Kraton and Court Culture Photography
Photography inside the Kraton requires awareness of two things: the restrictions that apply to certain sections, and the respect that should inform how you photograph in a space that is simultaneously a tourist site and an active royal residence.
The pendopo pavilions — the large open-air audience halls — photograph well in the soft morning light that filters through the open sides, and the gamelan instruments arranged in the performance space make strong compositional anchors. The challenge is patience rather than technique: waiting for the light angle that gives dimension to the carved pillars and the bronze gamelan instruments is the difference between a documentary record and a photograph worth keeping.
Photographing the gamelan rehearsal when it’s happening — which occurs most mornings for court musicians practicing their tradition rather than performing for visitors — requires a specific etiquette. Shooting from a respectful distance without approaching the musicians or the instrument arrangement during the rehearsal, and putting the camera down occasionally to simply watch rather than document, is the posture that sits right in this context. The Javanese culture and etiquette guide covers the broader cultural framework; the photography application of it is don’t let the camera become a barrier between you and what you’re supposedly there to experience.
Neighborhood Photography: Kotagede and the Kraton Lanes
The most photographically interesting Yogyakarta street work happens in Kotagede and in the lanes between the Kraton and Taman Sari — areas where the architecture, the craft activity, and the rhythm of daily life produce visual material that the main tourist circuit doesn’t offer.
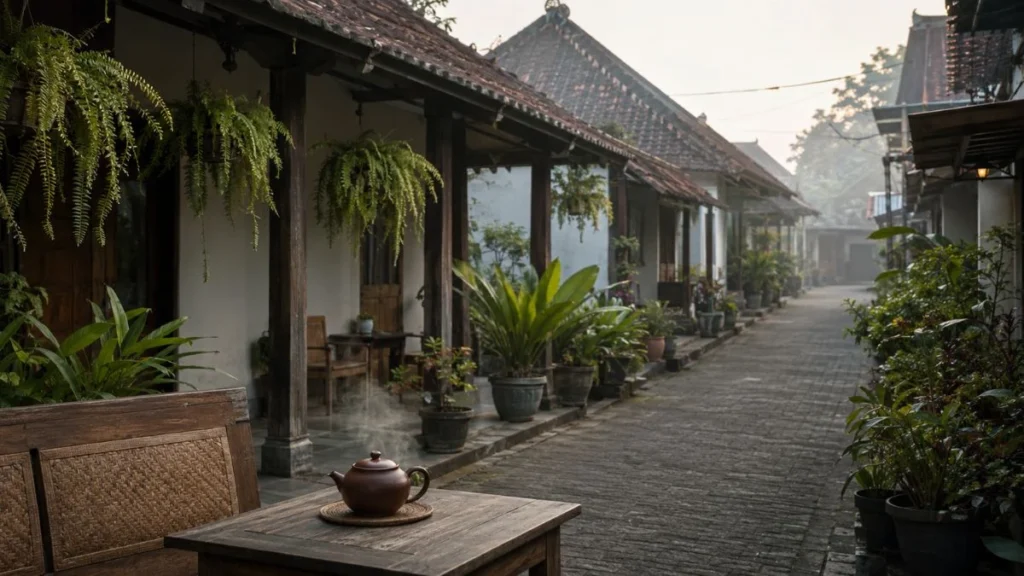
Kotagede in the early morning — before the silversmith workshops fully open and when the market lane is most active — has a quality of light and a density of genuine activity that midday visits don’t replicate. The narrow lanes with their traditional shophouse architecture, the glimpses of workshop activity through open gates, and the market vendors setting up their stalls all photograph better in the diffuse morning light than in the harsh midday sun. The Kotagede silver guide covers which parts of the neighborhood are most worth exploring; the same areas that are most interesting to visit are the most photographically rewarding.
Asking before photographing in Kotagede’s working workshops is not optional — it’s the baseline. Most craftspeople are comfortable being photographed once asked, and some are actively pleased to have their work documented. The ones who aren’t will decline clearly, and that should be accepted without pressure. Photographing the production process — the filigree work being drawn with the canting tool, the silver being hammered into form — requires getting close enough to see the detail, which requires the rapport that asking first creates.
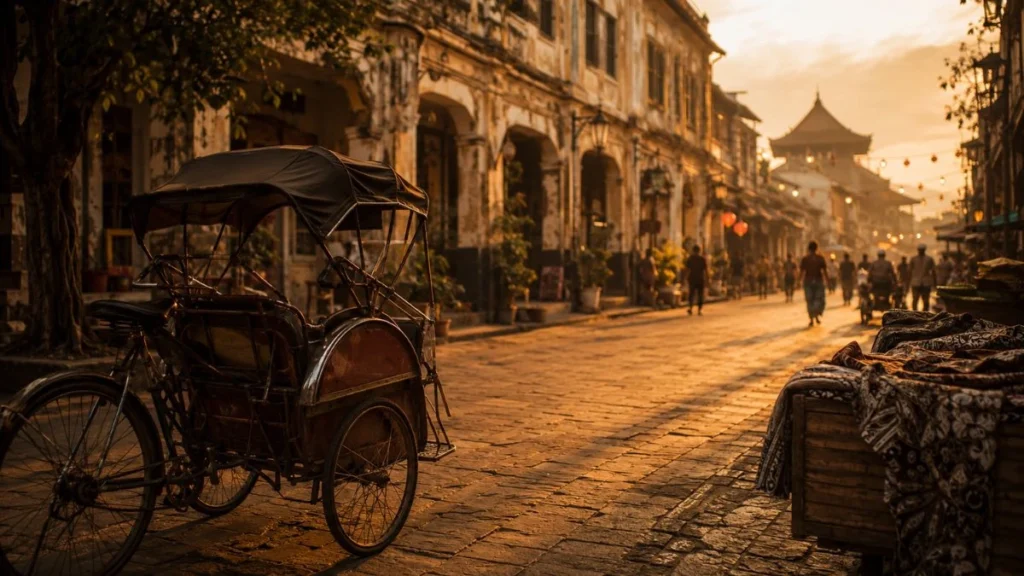
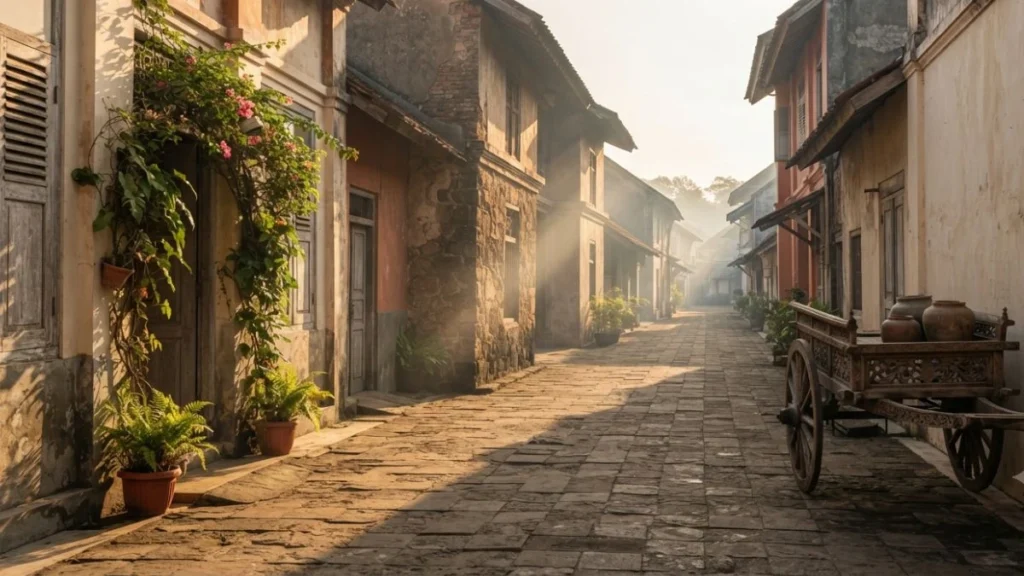
The lanes south of the Kraton toward Taman Sari are some of the most visually rich street photography terrain in Yogyakarta — old Dutch-era buildings, batik workshops with fabric drying in the lane, becak parked in doorways, children playing in spaces that haven’t been optimized for tourism. This area rewards walking slowly rather than moving purposefully between points, and produces photographs that look like Yogyakarta rather than like a travel stock library.
Merapi and the Highland Landscape
Mount Merapi as a photographic subject requires clear air and correct timing — the volcano’s cone is most clearly visible in the early morning before cloud formation, and the warm directional light in the first hour after sunrise gives the stone and vegetation on the lower slopes the depth that midday flat light removes.
The viewpoints from the Kaliurang area give the clearest accessible perspectives on the cone — the Kaliurang Yogyakarta guide covers the highland access, and the Mount Merapi guide covers the alert level context that affects upper slope access. The Lava Tour jeep routes pass through the hardened lava field landscape northwest of Kaliurang, where the textures of volcanic rock, buried village remnants, and the stark open landscape under Merapi’s cone produce material that is genuinely different from the temple and market circuit.
The Dieng Plateau at dawn — covered in the Dieng Plateau guide — is the most demanding photographic day trip logistically (the drive, the cold, the early departure) and one of the most rewarding. The combination of temple spires in pre-dawn mist, colored crater lakes, and volcanic summit views at altitude produces landscape material available almost nowhere else in Java.
Gunungkidul: Coastal Landscape Photography
The limestone cliff and cove coastline of Gunungkidul — covered in the Gunungkidul beaches guide — is most photogenic in the morning before sea haze builds, and the high cliff perspectives above the coves require either a drone (check current Indonesian drone regulations before flying) or willingness to find the cliff-top paths that exist above most of the main beaches.
Timang Beach’s rocky channel and gondola structure is the most compositionally dramatic coastal subject in Gunungkidul — the waves crashing through the channel, the rope system, and the coastal cliff context combine in a way that the calmer swimming beaches don’t match for landscape photography. The light is best in the morning when the sun illuminates the cliff faces rather than backlighting them.
Photography Etiquette in Yogyakarta
The Javanese culture guide covers the general framework; the photography-specific applications are worth stating directly.
Always ask before photographing people at close range. The Indonesian phrase “boleh foto?” (may I take a photo?) from the Javanese language basics guide covers most situations. In market contexts, photographing goods and stalls is less sensitive than photographing vendors directly. Photographing children requires asking the parent or guardian, not the child.
Ceremonial contexts require particular care. Photographing Kraton ceremonies, Grebeg processions, or wayang kulit performances in community settings is possible from a respectful distance and without pushing into the ceremonial space. Using a long focal length rather than getting physically close respects both the participants and the experience.
The drone situation in Yogyakarta requires checking current regulations before flying — Indonesian drone regulations are in active evolution, require registration and permits for commercial use, and restrict flight near the Kraton, airports, and government buildings. Flying without checking current requirements risks equipment confiscation and fines.
Borobudur and Prambanan have specific photography zones — currently cameras are permitted throughout the main areas but restrictions apply during religious ceremonies and in designated private sections. These are occasionally updated and worth confirming with site staff on arrival.
Gear Considerations for Yogyakarta
A standard mirrorless or DSLR with a versatile zoom (24-70mm equivalent) covers the majority of Yogyakarta photography situations. The additions that earn their weight specifically for this trip context:
A fast prime in the 35-50mm range for low-light work inside the Kraton pavilions and at evening performances, where tripods are often impractical and flash is inappropriate. A telephoto in the 85-200mm range for relief panel detail at Borobudur and Prambanan, and for portraits from a respectful distance. A polarizing filter for the crater lakes at Dieng and the coastal water at Gunungkidul, where the colored water effect is significantly enhanced by reducing surface reflection.
Sensor cleaning supplies — Yogyakarta’s combination of dust at the heritage sites, volcanic particulates in the highland area, and sea spray at Gunungkidul produces a sensor-dirtying environment faster than most destinations.
Frequently Asked Questions
What is the best time of day to photograph Borobudur?
The sunrise ticket provides the best light and fewest visitors on the upper terraces. For non-sunrise visits, the hour after opening on a clear day gives workable directional light on the east-facing facades. Midday is the least productive time photographically at all the major heritage sites.
Can I take photos inside the Kraton Yogyakarta?
Photography is permitted in most public sections of the Kraton, including the pavilions and museum areas. Some sections restrict photography, which is typically marked or communicated by staff. Photography during active rehearsals and ceremonies requires particular care for manner and positioning rather than simply technical permission.
Is drone photography allowed in Yogyakarta?
Indonesian drone regulations apply — registration, permits, and no-fly zones near airports, government buildings, and heritage sites. Regulations evolve; checking with the Indonesian Ministry of Transportation or a current local source before flying is essential rather than optional.
What camera settings work best for temple relief photography?
Side-lighting produces the best results — position yourself so the light comes from the side rather than front-on. A longer focal length (85mm or more) isolates panel sections effectively. For darker covered galleries, a wide aperture (f/2.8 or wider) and raised ISO are more practical than a tripod in crowded visitor areas.